If you’re new to pole mount installations, it may seem overwhelming trying to make sure you have the planning, permitting, relationships, and supplies you need ready to go at the same time.
You might be wondering how long the build will take; what should you tell your customer as it relates to timing?
While it’s never an exact science, our team has worked with enough installers to know that it can be estimated and planned for — even with unexpected mishaps happening every now and then.
At MT Solar, we design and manufacture mounting structures for solar modules and arrays of all sizes. Our team is dedicated to making the best pole mount solutions for installers and end users, which has been our driving force since day one.
In this article, we’re outlining everything you need to know as you plan your solar pole mount installation. By the end, you’ll have a clear idea how long a build should take, and how you should prepare at every step of the project.
We’ll be covering:
- Planning your Pole Mount installation
- Permitting and Inspections
- Excavation and Concrete Work
- Electrical and Conduit Installation Tips
- Pole Mount Installation
Planning Your Pole Mount Installation
When it comes to installing a solar system, the site evaluation is an essential step in the process. The evaluation is the point where you, the installer, and the customer go over the details of the project, including the location and design of the system.
One of the primary purposes of the site evaluation is to determine your customer’s needs. The customer’s preferences and requirements for the solar system play a crucial role in the design and installation of the system. For instance, if the customer has some trees that are important to them, the trees have to be preserved and the solar array planned with them in mind. This also means that the site evaluation should include checking the shade impact of the trees.
The site evaluation process typically starts with a walk around the property, whether it is in person or through a virtual tool like Google Maps. During this walk around, you and the customer will inspect the site, look at the surroundings, and discuss any potential issues that could impact the system’s installation or performance.
One of the critical factors to consider during the site evaluation is shading. Shade can have a significant impact on the performance of the solar system, so it is essential to assess how much shade the system will receive during the day. There are several ways to do this, including an app our team recommends called Sun Seeker, to determine the shade impact of the trees. The app helps you decide on the best spot to install the solar system, given the customer’s preferences.
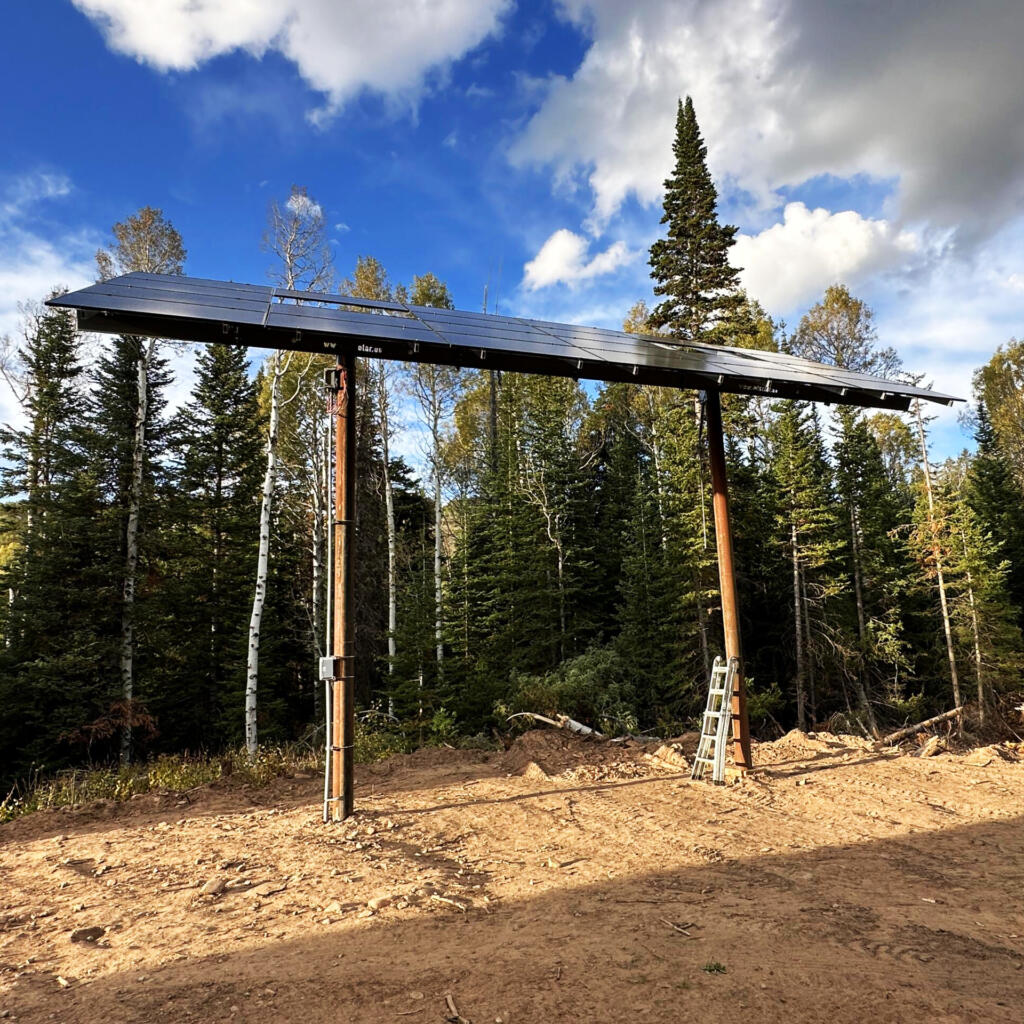
High ground clearance can help you overcome any shading issues.
Another factor to consider during the site evaluation is the location of the array. The location should be in a spot that meets the customer’s aesthetic preferences but also in a spot where it can efficiently generate energy. In some cases, you may need to install the solar array on a freestanding pole to achieve the desired location.
Once you, the installer, and the customer have determined the best spot to install the solar array, you can discuss other details such as conduit length and trenching. The conduit length determines how far the system needs to be connected to the electrical grid, while trenching involves digging a ditch to lay the conduit. Trenching can increase the cost of the installation, so it is essential to factor in the cost when designing the system.
A well-done site evaluation can ensure that the solar system is installed in the best possible location and performs optimally.
Permitting and Inspections (if required)
In many jurisdictions projects are required to be permitted and inspected at various stages of the installation. In some jurisdictions using a pole mount can eliminate the need for some of these inspections. It is the responsibility of the installer to determine if permits or inspections are going to be required for the installation.
If permits are required, they generally must be obtained before any installation work can begin, and are issued by local governments to ensure that the project meets all applicable building codes, zoning regulations, and safety requirements.
Inspections, on the other hand, are conducted at various stages of the construction process to ensure that the work meets the standards set out in the permits. Inspectors check for compliance with building codes, safety regulations, and other requirements to ensure that the project is being built safely and to a high standard.
It is best to understand the requirements of your jurisdiction before beginning an installation project.
Excavation and Setting the Steel Pole
When it comes to the excavation and concrete work phase of the project, we always encourage installers not to overthink it.
The first step in embracing simplicity is to stop thinking of the foundation as a massive, daunting structure. Instead, consider it more like a glorified fence post. This mental shift helps us focus on the essentials: digging a hole, placing the post, pouring concrete, and moving on to the next task.
An old rule of thumb for fence posts suggests that 1/3 of the post should be in the ground, with 2/3 above ground. While calculations now provide more precise measurements, this rule can still serve as a helpful estimation tool.
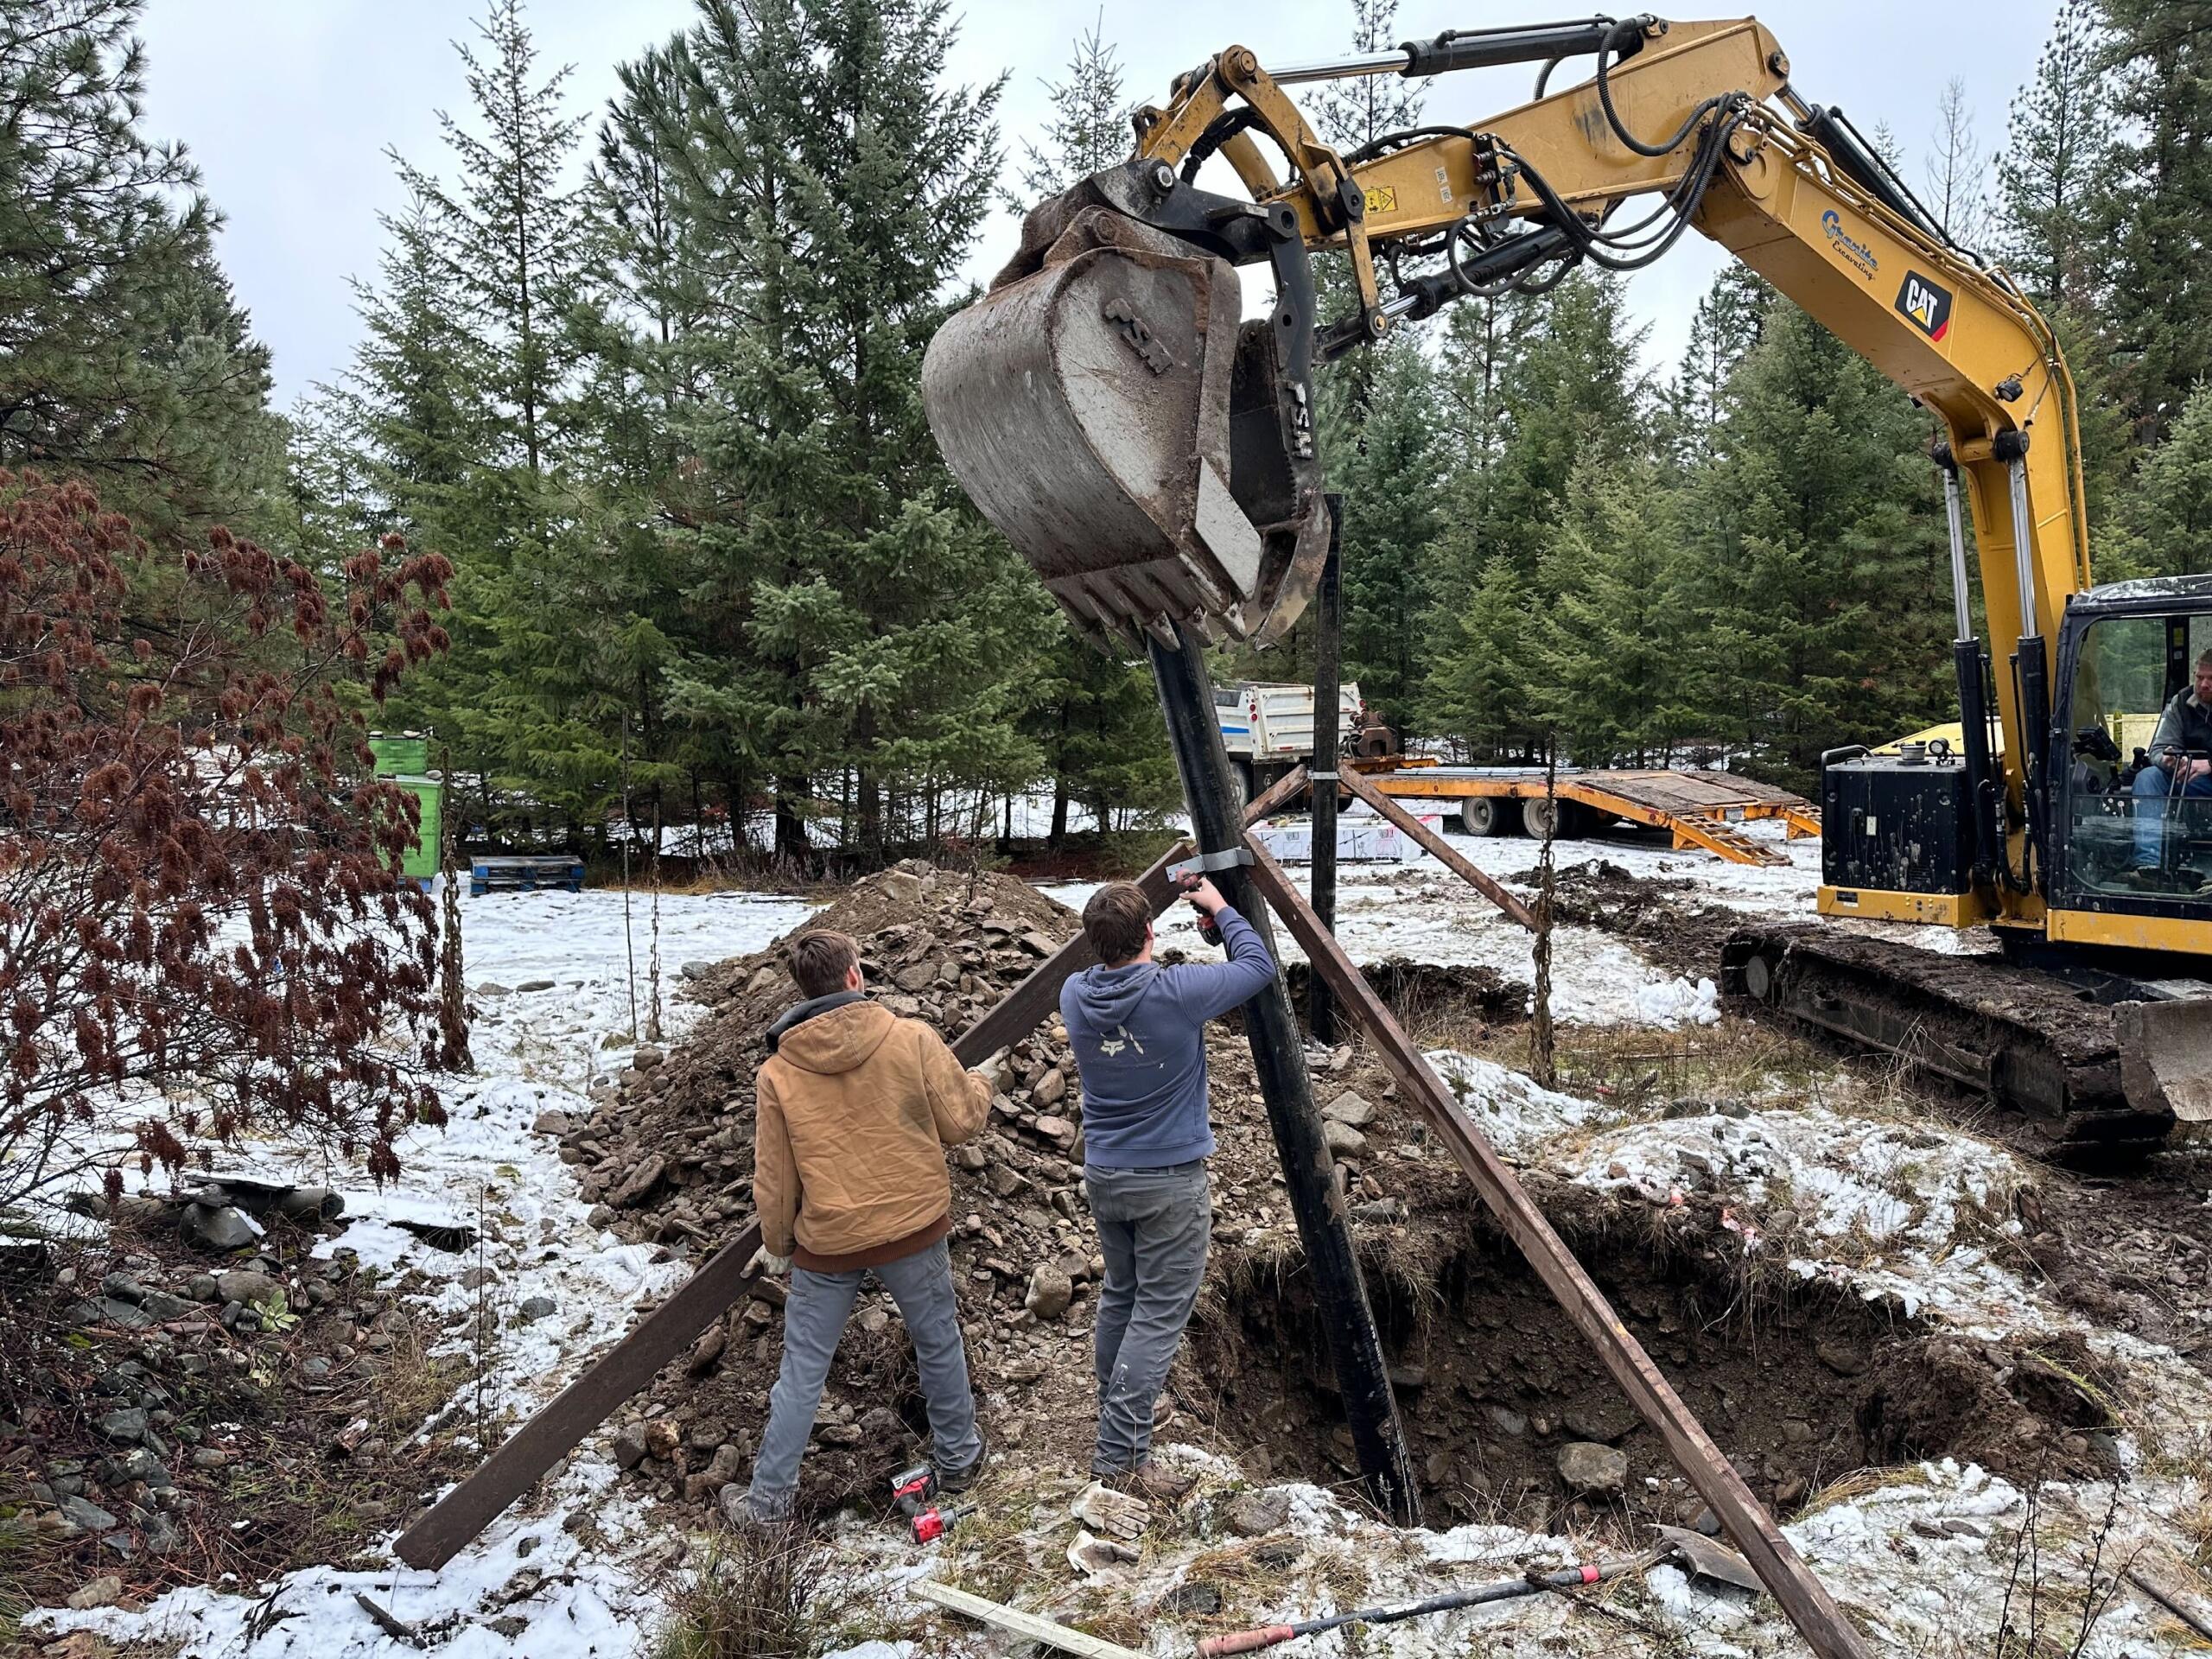
An excavator can help you set the steel pole while some 2 x 6's will hold it into place.
To further simplify the foundation construction process, consider hiring a local excavation contractor with an excavator or backhoe. These professionals can quickly and efficiently meet you at the jobsite and dig the required hole and help stand the post in place. While there, they can also do the trenching for the electrical conduit, and if foundation inspection is not required, may even be able to backfill the foundation once the concrete is poured. A common technique involves using the excavator to wrap a chain or strap around the post, securing it to the bucket, and then placing the post in the hole.
Once the post is in place, bracing it with two-by-fours or two-by-sixes can provide stability while you prepare the foundation. Building a small wooden box around the top of the post (typically at head-height for an easy install), with boards extending downward and secured with concrete stakes, helps to keep the post steady as you pour the concrete.
While you have the excavator on-site, this is a good opportunity for them to clean up the trenches, hole, and any grading that needs to be completed.
Electrical and Conduit Installation Tips
The need for a professional electrician depends on both the jurisdiction and an installer’s individual skill level. In some cases, the jurisdiction may require an inspection of the conduit in the trench, necessitating the presence of an electrician. Ultimately, ensuring that qualified individuals are involved in each stage of the installation process is vital for a successful solar installation.
Solar installers must consider factors such as determining if the customer needs just a grid tied solar array, or if they need battery backup and if that backup is off-grid or grid tied.
When a design pivots from a straight grid-tie system to a battery-based system, the wiring methods may change. In such cases, it’s important to consider string sizes and how the array should be configured and conduits routed to accommodate those strings. In some cases, installing a conduit down each pole and connecting them in a ground box before running a larger conduit back to the panels can be more efficient.
During the installation process, coordinating with other professionals such as excavators and electricians is crucial. If possible, it is recommended that the trench for the electrical work be dug on the same day as the pole installation to save time and reduce potential issues.
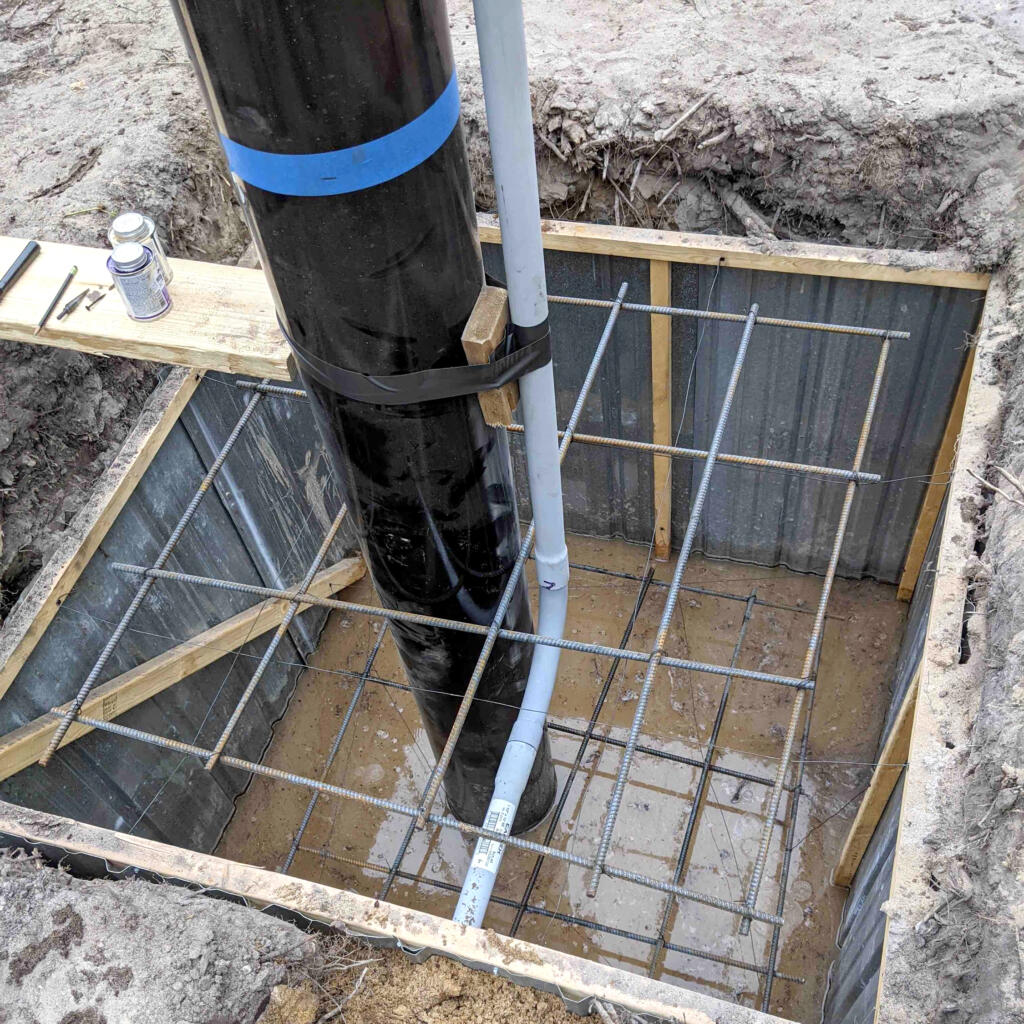
A wood block placed between the pole and conduit will make installation easier.
Strapping the conduit directly to the pole works well in most cases – just remember to leave some space for the pole mount install. Some installers opt to run the conduit inside the pole, but this method requires burning a hole through the pole below ground level and running the conduit up through the center. Though aesthetically pleasing, this approach is more time-consuming and expensive.
Pole Mount Installation
When it comes to the pole mount itself, the installation is typically a short process.
The components needed for each pole are neatly packaged on separate pallets. This packaging method allows for easy access and transportation of the required parts. We recommend positioning the pallets within 10-20 feet of each pole, allowing you to quickly grab what you need. Once the packaging is removed, you can simply start from the top.
This way, you can progress relatively quickly through the installation process.
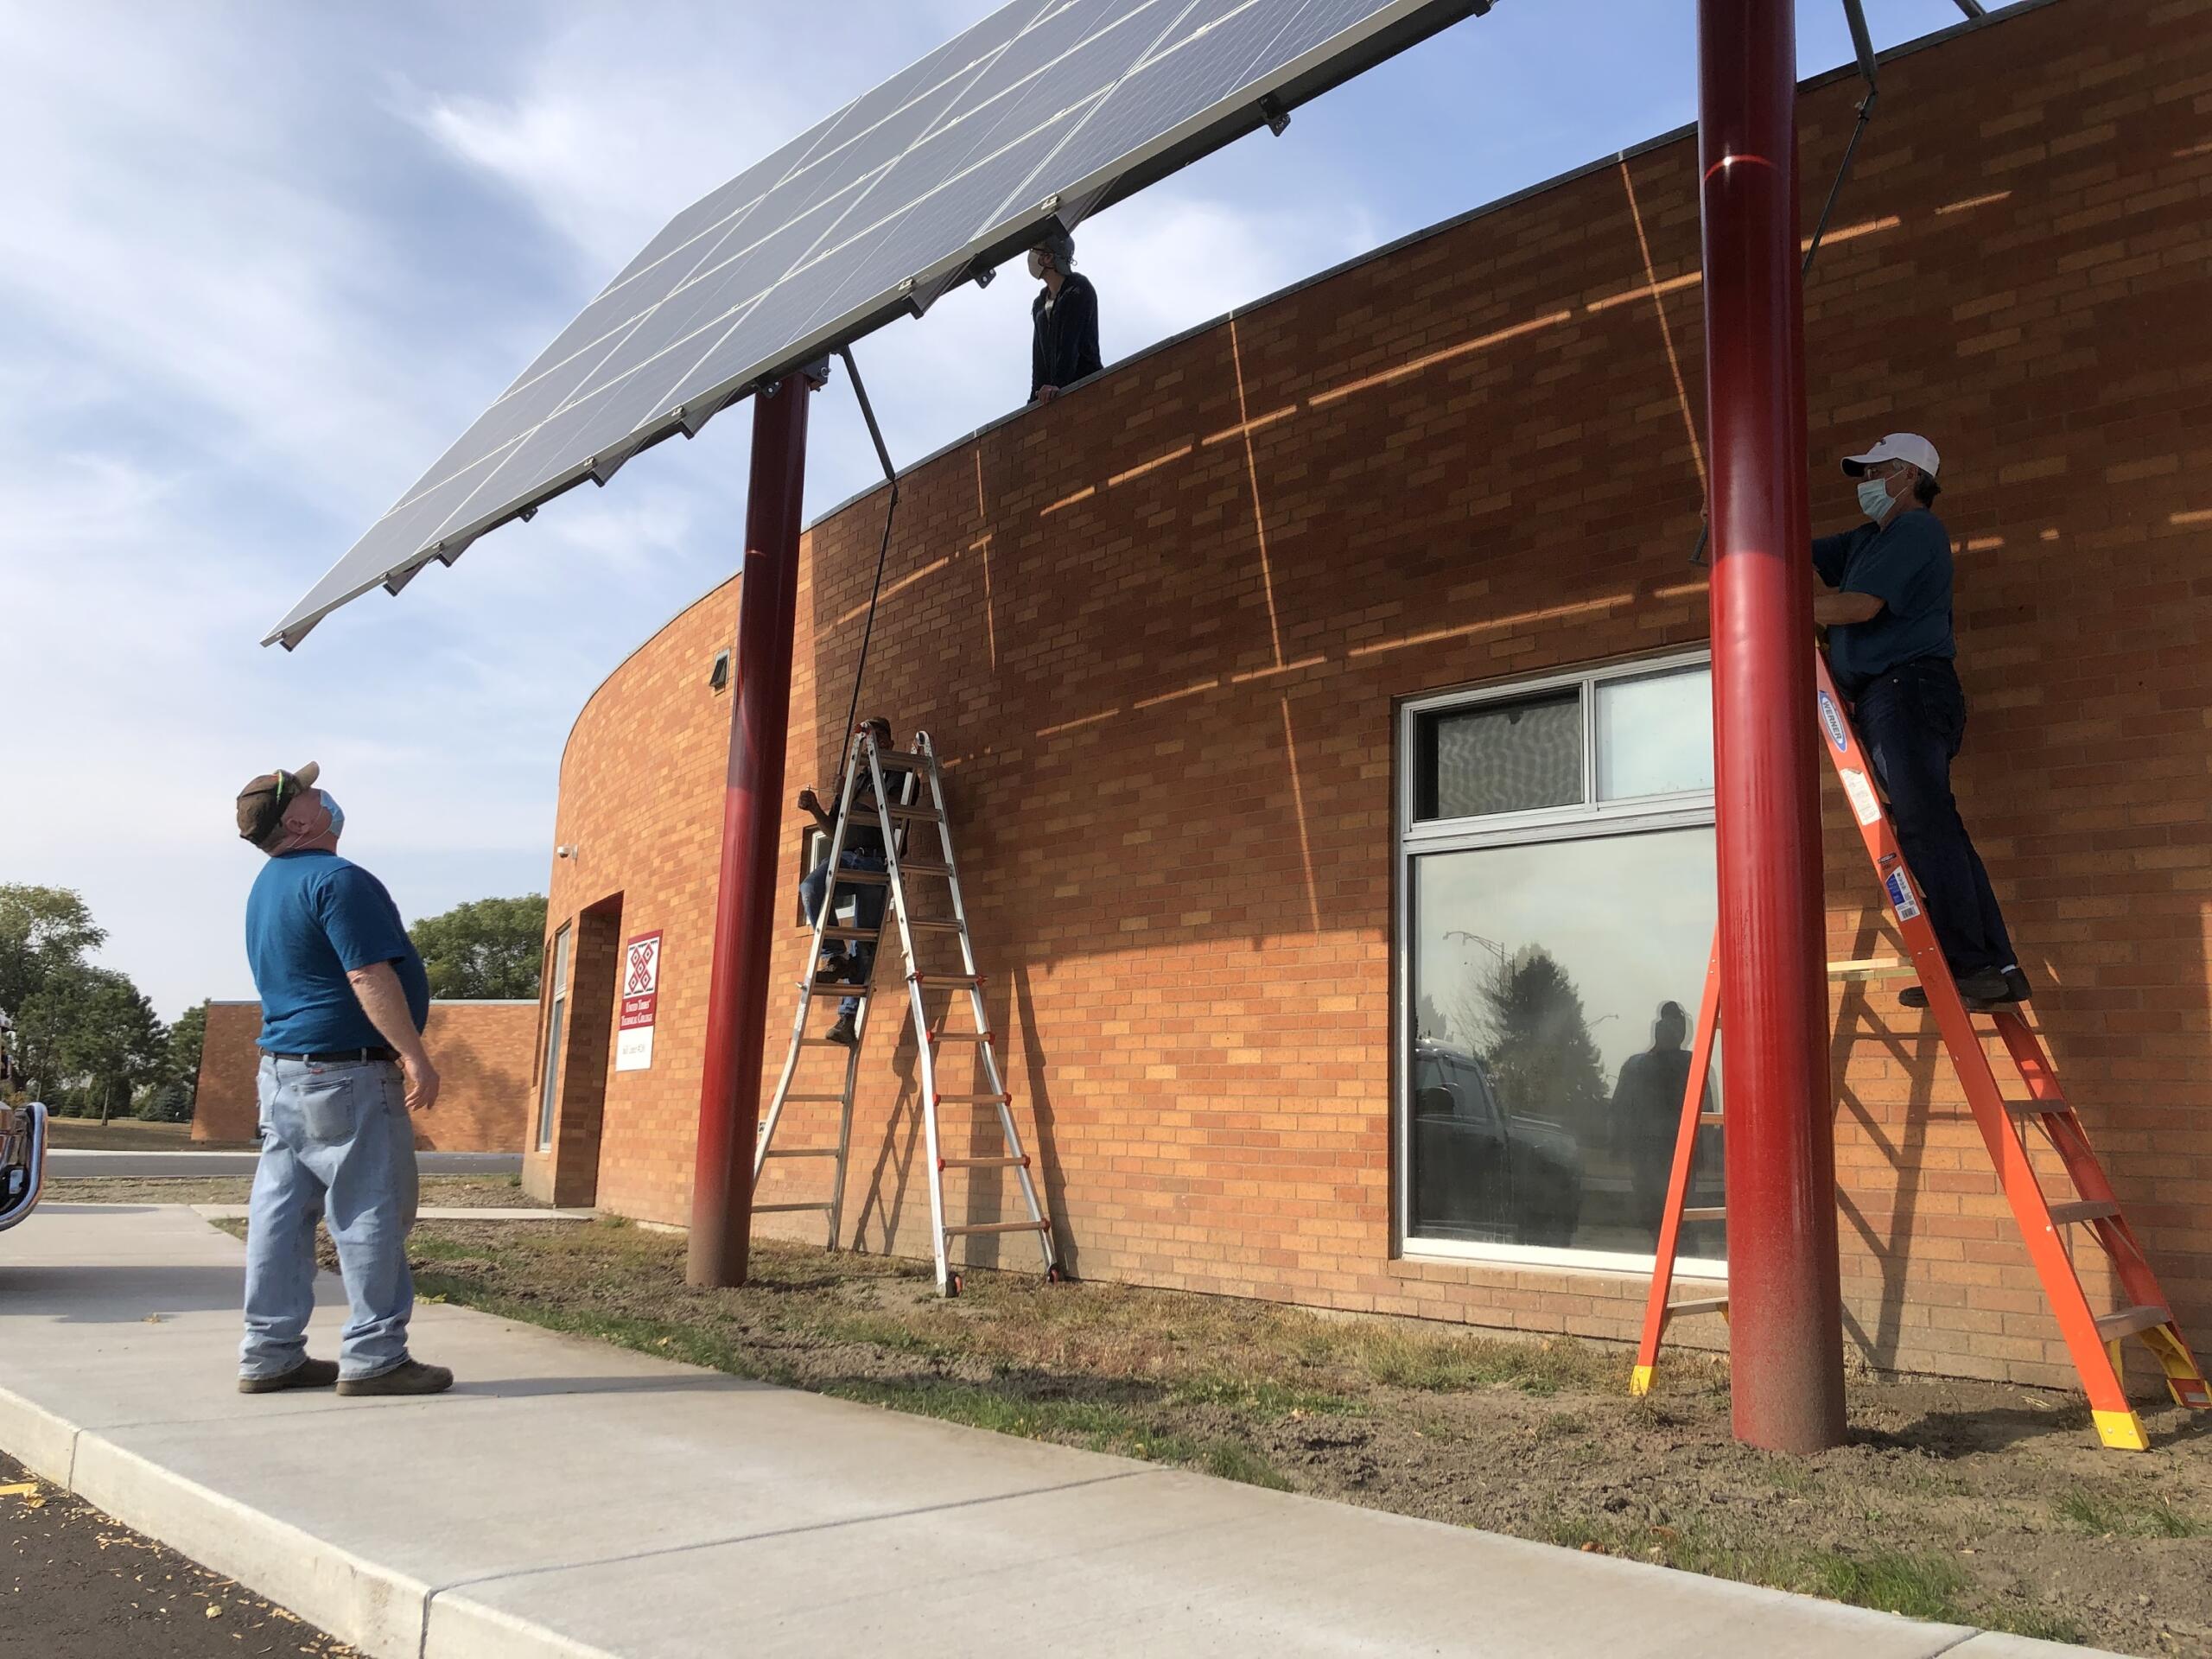
A pole mount can be assembled in a half day to full day, depending on experience.
The installation process starts with the attachment of the lift insert, followed by the lift bracket, and the chain hoist. Installers can safely reach the top of the pole using a ladder or a stable platform. This initial step serves as the foundation for the subsequent assembly. Using the provided manual, you can systematically remove the parts from the pallet and secure them onto the pole. This approach allows you to complete the entire pole mount assembly in a half day to a full days’ time, depending on the installation and your own experience.